How to create NIC teams and configure networking on Microsoft Windows Server 2012 Hyper-V using Powershell
One of the new features in Windows Server 2012 is the simplified creation of NIC teams. This has been possible to do before, but it required support from the NIC supplier to do this. In its latest server incarnation, Microsoft made it really easy to do.
And as always, there are ways to do this. But the idea to have a more-less generic script that you can use on (nearly)any setup was really tempting. The script i came up with works best for me, and it might require further improvements in other scenarios.
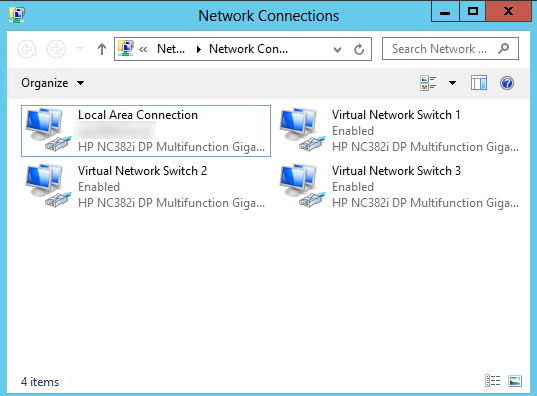
Before you start, you might want to review and change the network adapter names in the Network and sharing center. When you start it will look something like this:
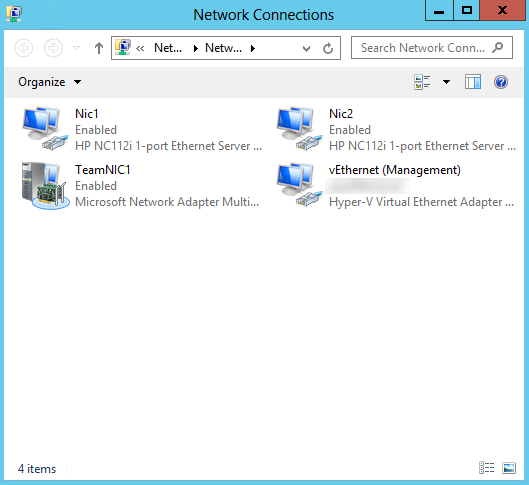
To make my life as easy as possible, i change the network adapter names to Nic1, Nic2, and so on. After the renaming, the result will look something like this:

The next step is to run the Powershell script. For you convenience you can download the ZIP-d script file here – CreateNICteam. I recommend using Powershell ISE (Integrated Scripting Environment). A few reason for this:
- allow you to edit the script according to your environment
- provides context help on all the Powershell commandlets and their parameters
- makes you realize Powershell isn’t as scary as you thought 🙂
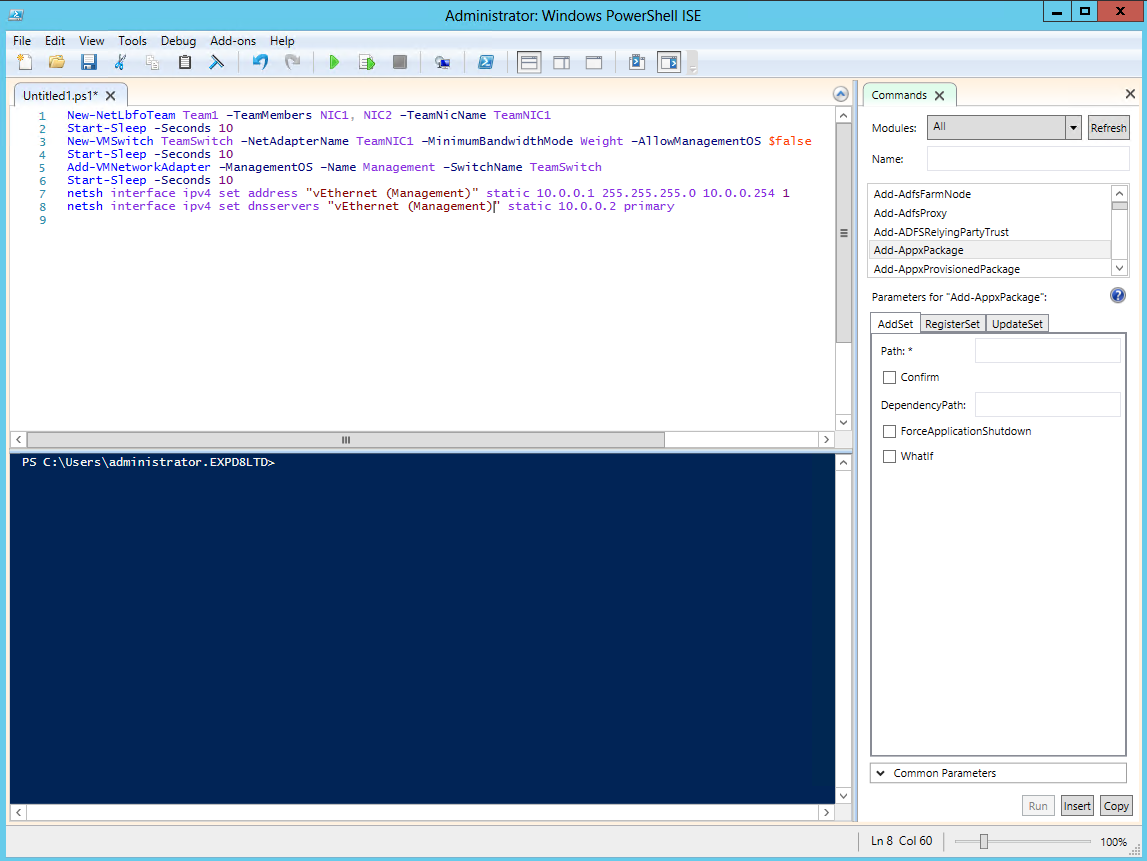
A few notes in relation to the script itself.
- The first command creates the NIC team itself, using the names of network adapters you used previously. You can also change the team name to you liking using the -TeamNicName parameter
- The Start-Sleep timer has no special function, i just like to have it there to have time to read the outputs and follow the changes. And to keep the suspense!
- The following command creates the virtual network switch, using the NIC team name from step 1.
- More suspense!
- The command on the next line creates a virtual network adapter to be used by the management (host) OS.
- I can’t take this any more!!!
- Now we configure the IP address on the management OS adapter that we created. One very important information – when you create a virtual network adapter with a name “Management”, the adapter’s name will be actually “vEthernet (management”) – see the result below.
- Finally we setup the dns server address to be used by the host OS.
There are more things you can do with virtual network adapter configurations, you could add dedicated virtual adapters for use by iSCSI, Live Migration, etc, and have all those setup with a specified bandwidth limits, but this is beyond the scope of today’s article.